 Nourished and Grounded Nutritional and Lifestyle Consulting, Functional Diagnostic Nutrition Practitioner, and MTHFR Expert
Let’s get brewing!
If you’re reading this post with serious intentions, odds are you have sampled from your local Whole Foods and have developed a taste for this wonderful detoxifying elixir, but realized quickly that it can become a VERY expensive habit. You may be ready for your very own kombucha recipe! If you haven’t tried it out, check out my write up on what all the buzz is about: http://nourishedandgrounded.com/kombucha/
Before I began my own home brew my husband and I were going through 5-6 bottles per week. At $3/bottle, that’s nearly $1000/year! What’s amazing is that with just a few ingredients and a slight interest in science experiments, you can have your own continuous brew to delight your taste buds and amaze your friends for less than 50 cents a bottle. The best part is that it takes no additional effort to make a giant batch, which makes it a great product to share and help nourish your friends, family and community.
Let’s take a look at what you need in order to become your own kombucha factory:
- A proper fermentation vessel: The kombucha will sit in this jar for one to three weeks, so it’s important both for your health, and the health of the SCOBY, that you provide the proper vessel for the job.
- Metal: Beware of metals as they may react with the acids in the kombucha and damage the SCOBY. Stainless steal is inert however, and can be a good option if you can find a container that fits your brewing and bottling needs.
- Plastic: Make sure the plastic is “food-grade” quality so that the acids in the kombucha do not leach harmful chemicals into the drink and check for scratches that may harbor bad bacteria. Be sure to sanitize all surfaces well before you begin.
- Porcelain/ceramic: Be sure the container is lead free. The acids in the kombucha will leach lead into the drink as well as damage the SCOBY.
- Glass:Excellent choice for brewing as it is inert, will not react with the SCOBY or leach chemicals into the drink.
- A clean/filtered water source: Be sure your water is filtered so that it does not contain toxins or chemicals such as chlorine or flouride, which are anti-microbial agents and will slow down fermentation and damage/kill the SCOBY.
- Sugar: Keep in mind this sugar is not to sweeten the drink, it is to feed the SCOBY. For a quick, efficient and healthy brew, you want to look for a sugar that is natural (free from the potential harmful effects of GMO, and processed without harmful chemicals from bleaching or other “cosmetic” preparations) and also easily digestible for the SCOBY. It is important to get the brew fermenting and producing acids quickly in order to prevent mold and unwanted bacterial growth in the mixture.
- Organic evaporated cane juice or other organic white sugars work well.
- Molasses or maple syrup may work if you are interested in the maximum amount minerals possible for nutrition as well as add depth to the flavor of the drink, but the SCOBY will need to work harder to process the sugar, and the brew will take longer to convert.
- Some brewers have had good results with honey, but I caution against this. Raw honey has its own bacterial colonies which could compete with the strains in the SCOBY and create imbalances or be harmful to the SCOBY. In addition, honey has anti-microbial properties which could damage the SCOBY.
- Artificial sweeteners (stevia, xylitol, etc.) should be avoided as they can not be digested by the SCOBY and the brew will fail to thrive. The SCOBY will starve and without the acidic environment mold and unwanted bacteria will take over the sugary mix.
- Tea: There are numerous teas that can be used to brew kombucha, each with its own flavor profile and health benefits
- Black tea-the traditional tea for kombucha. This tea presents a bold flavor and produces a tart “apple cider vinegar” taste in the kombucha. Black tea brew tastes delicious straight from the tap, or with rich, heavy secondary flavorings.
- Oolong-produces a lighter, grassy flavor.
- Green/White teas produce lighter, flowery tasting kombucha. These teas work well paired with fruity, light secondary flavorings.
- Avoid Earl Grey or other teas with essential oils (teas that are flavored with other herbs like peppermint or contain fruits or other flavorings) as these volatile oils may be harmful to the SCOBY.
-
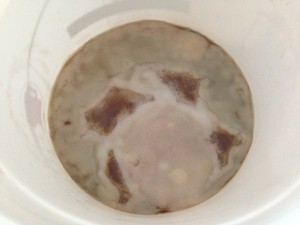
Yah, this weird looking thing is a BABY Scoby! Be prepared for a new one every week!!!
SCOBY: While this can seem like a difficult ingredient to come by, once you start brewing you’ll have more SCOBYs then you know what to do with! There are several online companies that sell cultures for reasonable prices:
- http://www.culturesforhealth.com/ This is where I purchased my first SCOBY. The SCOBYs come dehydrated so it can be quite an ordeal. A dehydrated SCOBY takes a month of feeding in order to prepare it for brewing. In my experience the immature SCOBYs do produce a fine brew in about the same time frame as a mature SCOBY, but in their adolescence they do not produce additional baby SCOBYs. I must add that they have GREAT customer service and have been a wonderful company to work with. They also sell a wide variety of culture starters and equipment, and their website is an excellent source of information. They have been quick to answer any and all of my questions about brewing.
- http://www.kombuchakamp.com/ The great thing about this company is that they sell LIVE cultures with starter liquid that are thick, healthy and ready to brew with no rehydrating needed. I experienced a great brew on my very first attempt with this SCOBY and it produced an incredibly healthy baby SCOBY, which I gave to a friend and we found that the baby SCOBY was of equally high quality and began producing great brew as well. I have had consistent good brews from my KK SCOBY in batches from 1 gallon to 5 gallons.
- www.KefirLady.com While I have no personal experience with this company, I have heard excellent things about their products as well as the customer service. They offer a wide variety of fermentation products and starter kits.
- Etsy/Ebay have many options for fresh SCOBYs as more and more people have started brew their own batches and are looking for ways to unload their extra SCOBYs, but buyer beware as you’re getting a living product from an unknown source!
- Your crazy kombucha friends! If you happen to be lucky enough to know someone who brews their own kombucha, start bugging them every 1-2 weeks, as they should have a fresh baby SCOBY laying around from each new batch.
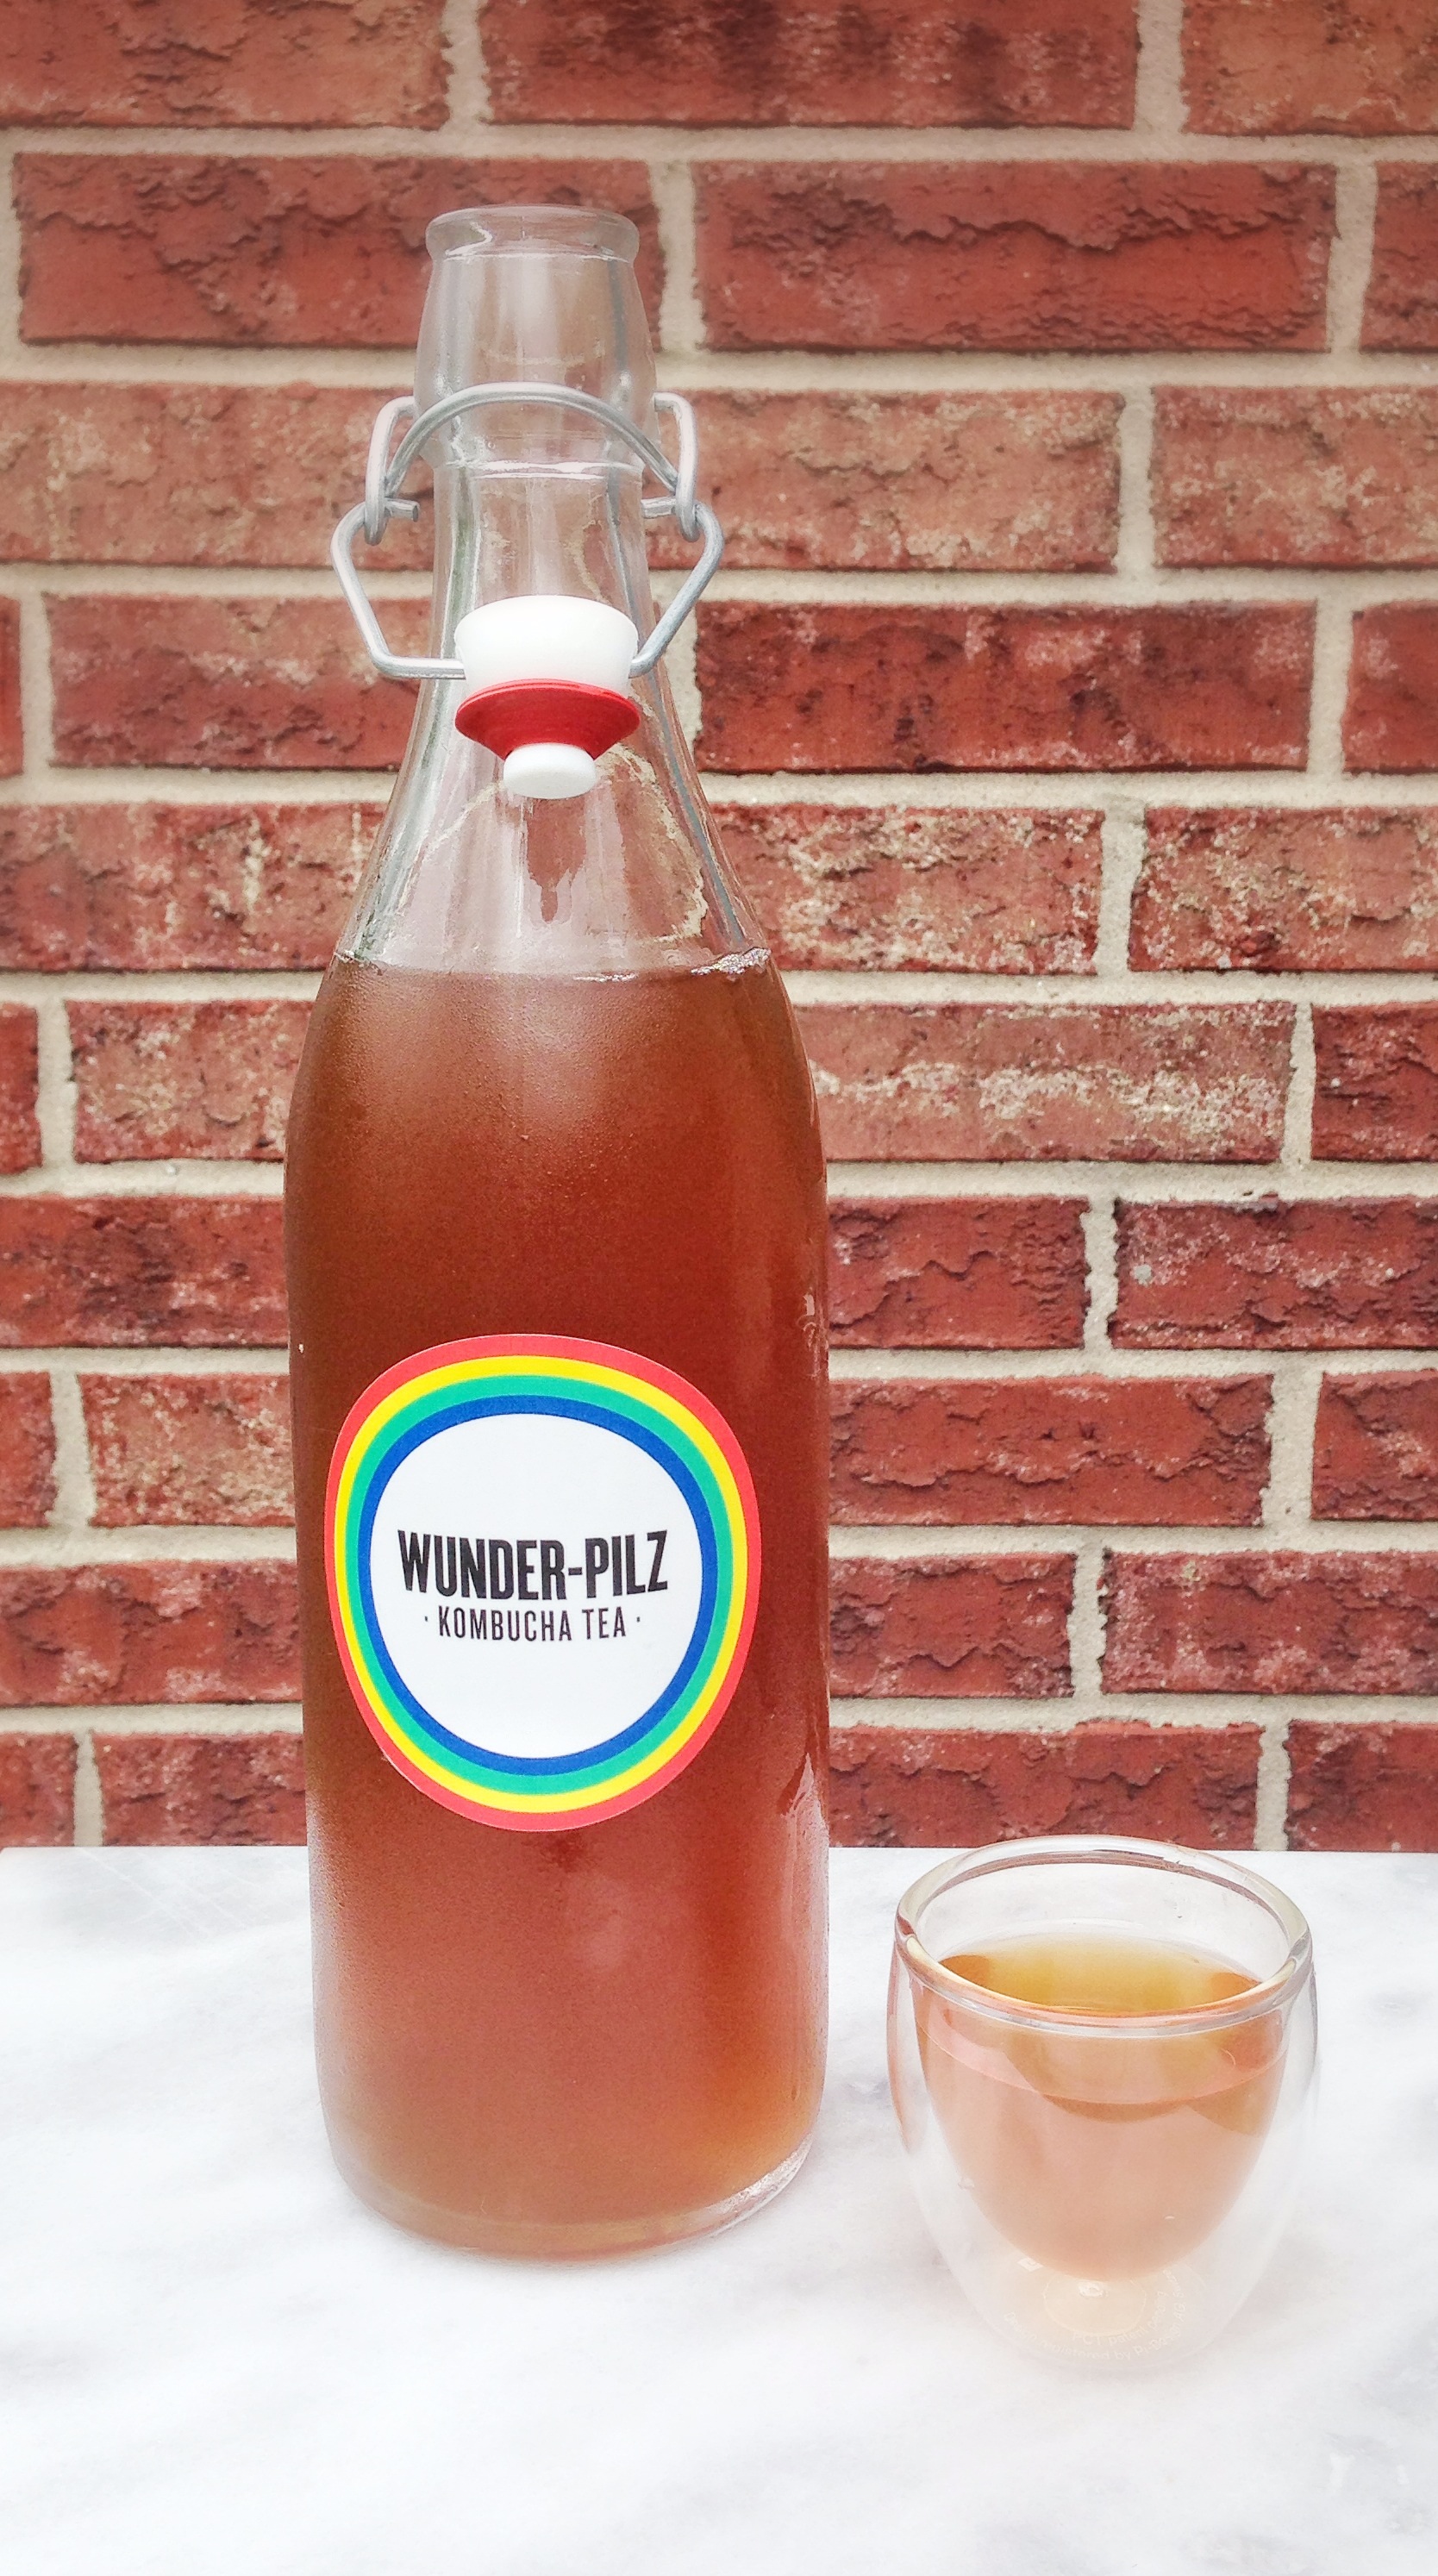
- Storage bottles: You want to make sure you have heavy duty bottles that can handle the added pressure of secondary fermentation. The easiest way is to collect old kombucha bottles, give them a rinse and reuse what you already have. A 6 liter batch of kombucha will fill about 10 bottles. If you don’t currently have a stash of bottles, beer and wine making supply stores are an excellent resource. Heavy duty screw-top or flip-top bottles both work well.

Instructions for 6 liters of tea:
- Prepare the water for brewing-if you are comfortable with microwaves, I find that working with 8 cups of water at a time works well and allows the tea to cool relatively quickly. Alternatively you can heat up the water in a giant stock pot or in several small batches in smaller pots on the stove, but the mixture will take longer to cool before you can add your SCOBY. Heat the water to just below boiling.
- Mix in the sugar (1/2 cup for every 8 cups of water) and stir until dissolved.
- Once the sugar is dissolved, add in 4 tea bags per 8 cups of water and let steep 10-15 minutes, then remove the tea bags. Let the mixture sit until it is COMPLETELY cooled (hot water can cause damage to the SCOBY).
- Dump the sweet tea into the fermenting container, add the SCOBY, cover with the top of the container with a towel and let it sit! Do not seal the container as the SCOBY needs air in order to ferment the tea. The towel is simply to prevent dirt and bugs from getting into the mix.
- After about 5 days start checking the taste for your preference, somewhere between 7-9 days you should reach a good balance of sweet and sour. If you’re daring, push it another week or two. The brew turns incredibly vinegary during the 2-3 week time frame, but the organic acids that only form during a longer ferment are incredibly detoxifying if you’re hard core enough to drink it.
- Add any additional sweetener/flavorings to the storage bottle, fill the bottle with kombucha (leaving about .5 inch at top) and screw the cap on tight.
- Leave the bottles out at room temperature for an additional 24-48 hours. This will assist in secondary fermentation from the yeast eating the newly added sugar, the source of that great fizzy quality of kombucha.
- After 48 hours, store the bottles in the refrigerator until you are ready to drink. Be careful if leaving the bottles out more than 2 days. My own personal experiments have shown there tends to be way more bubbling over the lid if you let the yeast get too active, and bottles under too much pressure, or if shaken vigorously or dropped, may explode. Be sure to save a cup or two of the brewed kombucha to add to your new brew as this will help jumpstart the fermentation process for your new batch.
When it comes to flavoring during secondary fermentation, the options are virtually endless. Some people prefer the taste of the fermented tea by itself, while some love to get more creative. Here are some of my favorite creations:
- Ginger
- Ginger/peach
- Strawberry
- Pomegranate/Blueberry
- Watermelon/Rosemary
- Lavender
- Lemon/Thyme
- Lychee
- Lime/cherry
Stay tuned for part 3 of the Kombucha series: recipes using kombucha as an ingredient!
What are your favorite combinations? What flavors sound delicious and you’d like us to experiment and report back on the results?


3 comments
Pingback: Kombucha Part 3 – Recipes! | Nourished and Grounded
Pingback: Surgical/Traumatic Injury Recovery |
Pingback: Confessions of a semi-ecoconcious shopaholic - Nourished and Grounded